Proxmox is een platform dat je toelaat om virtuele machines te beheren met een webinterface. Het heeft veel functies zoals High-availablility met automatische failover, en clustering. In deze post zal ik toelichten hoe je clustering met HA kunt toepassen.
Minimumvereisten
Een proxmox cluster heeft minimaal 3 nodes nodig (en idealiter altijd een oneven aantal). Voor HA is er ook storage replication nodig met bijvoorbeeld ZFS.
Ik maak deze omgeving in 3 virtuele machines. Ik installeer proxmox met ZFS als opslagformaat, aangezien we dit nodig hebben voor de replication. Nested virtualisatie is nooit aangeraden, maar het is perfect voor een testomgeving zoals dit.
De cluster aanmaken
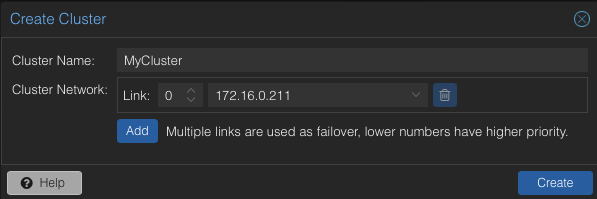
Log in op de eerste proxmox machine. Klik op datacenter > cluster en dan op de “create cluster” knop. Geef de cluster een naam en klik op “create”
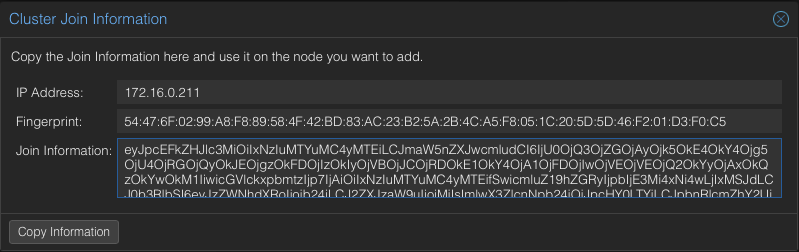
Vervolgens klik je op de knop “Join information”, Kopieer deze gegevens want we moeten deze invoegen in de andere nodes.
 n
n
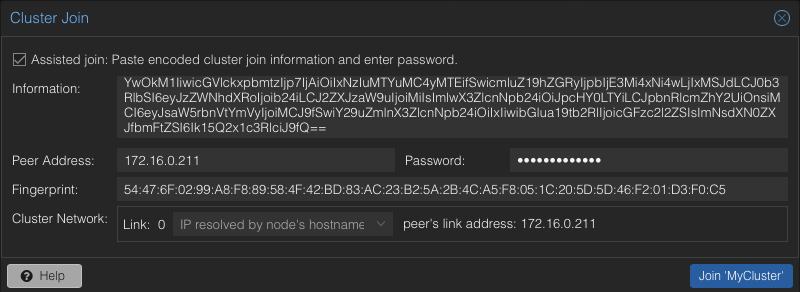
Vervolgens moeten we inloggen in de 2e node, naar “Datacenter > Cluster” navigeren en op “Join cluster” klikken. Plak de join information in het veld, en vervolgens ook het root wachtwoord van de eerste server. Doe hetzelfde voor de 3e server.
Als we nu naar een willekeurige node gaan, zullen we zien dat we alle vm’s kunnen beheren vanaf elke proxmox host.
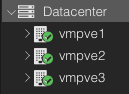
Nu hebben we een cluster.
Replicatie instellen
Hiervoor moeten we 1 vm aanmaken. Ik gebruik hier een eenvoudige Debian VM met Apache als test, maar deze VM kan natuurlijk alles draaien wat je maar wilt.
Eens de VM is geïnstalleerd, ga naar de VM en selecteer “Replication”. WE gaan 2 jobs maken: een naar de 2e node, en een naar de 3e node.
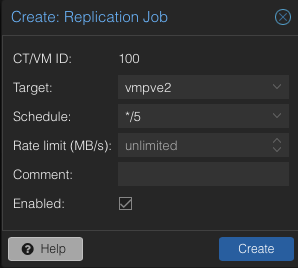

Dit gaat de Disk naar de andere nodes overzetten elke 5 minuten. Klik op “schedule now” voor beide jobs (of wacht enkele minuten) totdat de VM disk overgezet is naar beide nodes.
Vervolgens kunnen we naar “more” > “manage HA” gaan om de High availability te configureren voor deze VM.
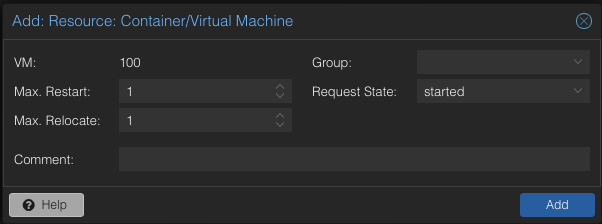
Nu is de replicatie met HA ingesteld.
Test 1: Live migration
Als we op de “migrate” knop drukken en een VM selecteren, kunnen we de VM live migreren naar een andere node. Ik ga hier mijn VM van node 1 naar node 2 verhuizen.
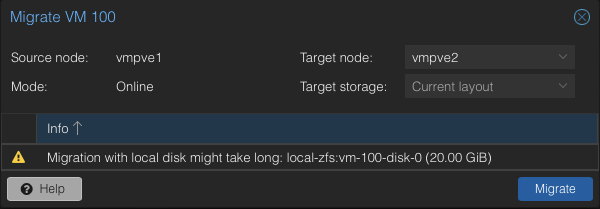
De VM zal automatisch op node 2 beginnen te draaien, zonder reboots.
Test 2: Failover
Vervolgens kunnen we de failover testen door de node waar onze VM op draait uit te schakelen. Na een paar minuten zal je merken dat de VM word opgestart op een andere node. Hier zal wel enkele minuten downtime zijn, en zal de VM opgestart worden vanaf de laatste disk replica. De downtime word op deze manier echter wel geminimaliseerd.