For a long time, I've noticed "FreeBSD" as an option when spinning up a VM at various cloud providers, but I've never played with it. I decided I should just spin up a VM on my Proxmox machine in my homelab and explore FreeBSD. In this post, I'll go over installing FreeBSD.
Note: You can use any old machine you have laying around, or, use another VM system (like virtualbox). I'm using Proxmox because that's what I normally use.
Downloading FreeBSD
First, we need to obtain an installer for FreeBSD. This can be obtained by going to freebsd.org and clicking the big yellow "download FreeBSD" button.
Next you'll need to select an architecture and image. Most people run a 64 bit Intel or AMD cpu, so you'd pick the amd64 architecture. This still presents you with a few options for the actual installer, the most common are dvd1 and memstick (or mini-memstick).
If you're using flash drive to do the installation, pick the memstick option since this image is optimized for flash media, if you are old-school and burn the installer to a DVD, you can use the dvd1 option.
Since I'll be installing this on a Proxmox VM, I'll pick the dvd1 option because I'll be emulating a DVD drive.
If you are installing on a physical machine, burn this image to a flash drive/DVD
Notes for Proxmox users
If you're following along on Proxmox, you can make a VM like you normally would, except in the OS section, select "other" as the type.
Installing
Now we have the installer, plug it in to your device (or mount the DVD image into your VM) and boot from it.
You will be greeted with a screen with a lot of options, You can press enter here to boot into Multi-user mode, the other modes are mostly intended if you need to recover a crashed system. The first option is also what will be used if you don't do anything for a few seconds.
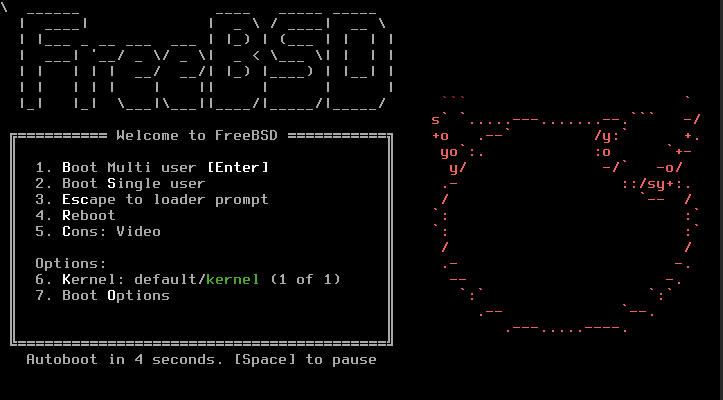
If you pressed enter, or waited a bit, you will be greeted by the installer. There are a few options here: Install (what we'll we using), Shell and Live CD.
Select install and press enter.

Next you'll be asked to select your keymap. I'm using the Belgian (Azerty) layout, but pick whatever you are using. Once you selected your keymap, use the top option "Continue with be.kbd keymap" and press enter.

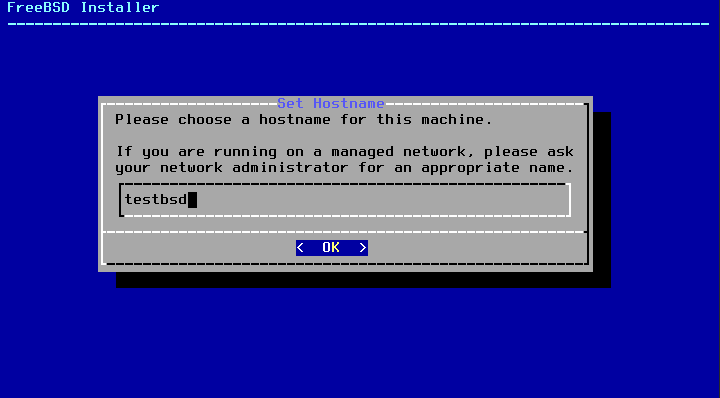
Next you'll be asked to use a hostname, you can choose whatever you like, but I'll go with testbsd
Next is the distribution selection screen. We can unselect the options ending with -dbg.

Next is the partition selection, this is a bit to preference, so I'll go over the options here:
- Auto (ZFS): Automaticaly partitioned ZFS
- Auto (UFS): Automaticaly partitioned UFS
- Manual: Manualy partition using a menu
- Shell: Manualy partition using a shell
I'll use ZFS, but if you are more experienced you can pick whatever suits your needs.
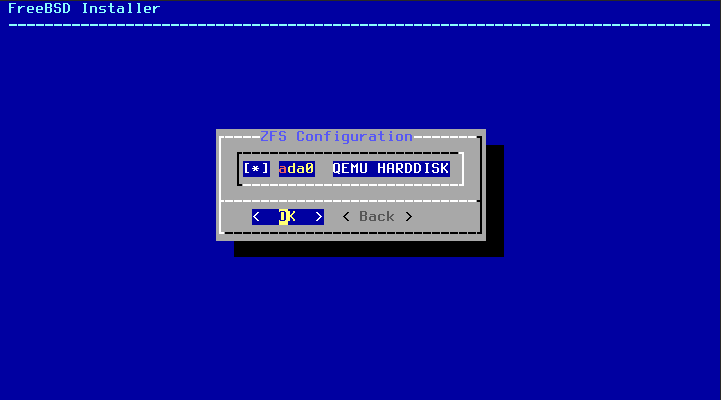
If you selected ZFS, you will be greeted with a screen where you can change the options a bit, but the defaults will be fine for most people.
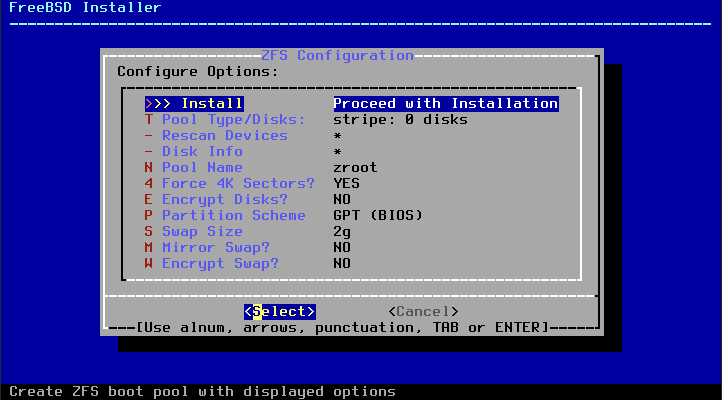
If you have multiple disks, you will want to change the Pool type/disks option.
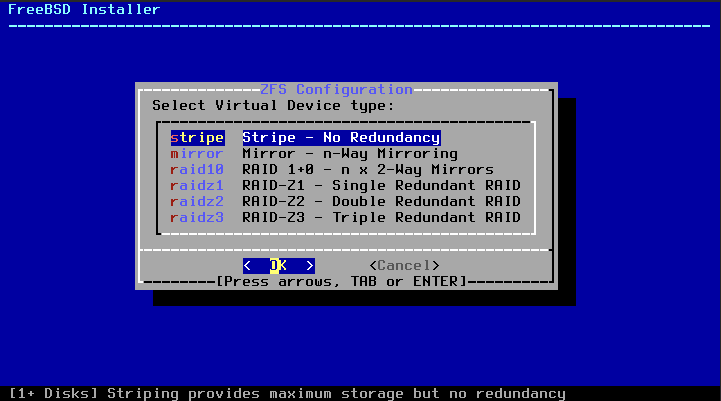
- Stripe: Stripe data across all disks, maximum capacity but no redundancy (this is what you'd use if you only have one disk)
- Mirror: If you have 2 disks for example, this would use the second disk for a 1:1 copy of the first disk
- Raid 10: If you have 4 disks, this would stripe over 2 disks, and then mirror that to the other two disks.
- Raidz1: This is useful if you have 3, 5 or 9 disks, this can handle 1 disk failing
- Raidz2: This is useful if you have 4, 6 or 10 disks, this can handle 2 drives failing.
- Raidz3: If you have 5, 7 or 11 disks, you can use this to handle up to 3 drives failing.
Since I only gave my VM one disk, I will use "stripe" and select my harddrive
Next, select "Install" from the main ZFS menu we had before.
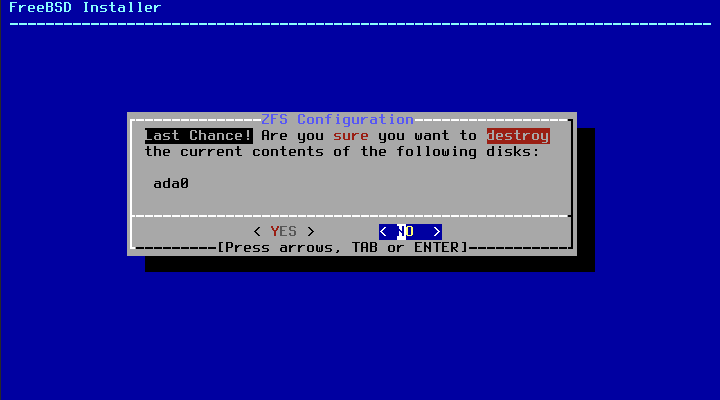
Before the installation begins, we will be greeted with a warning screen, informing you that all data on the drives will be wiped, this is mostly intended to make sure you don't wipe a data drive for example.
Since we are sure, we can select "yes" and hit enter.
This will now install the system, this might take a little while.
Once this is finished, the installer will ask for the password of the root (administrator) user. Enter a password, but remember that you will not see what you are typing (no asterisks either) and that this is normal behavior. Just press enter afterwards.
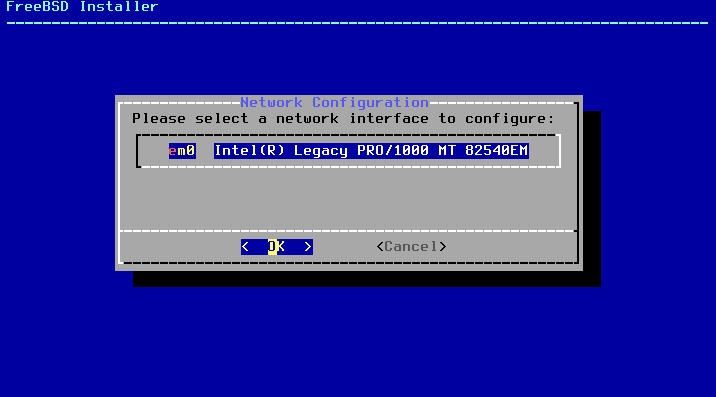
Next is the network configuration, this will show slightly different options for everyone, but select the network card you want.
Next you will be asked if you want to configure IPv4 on this interface, select "Yes".
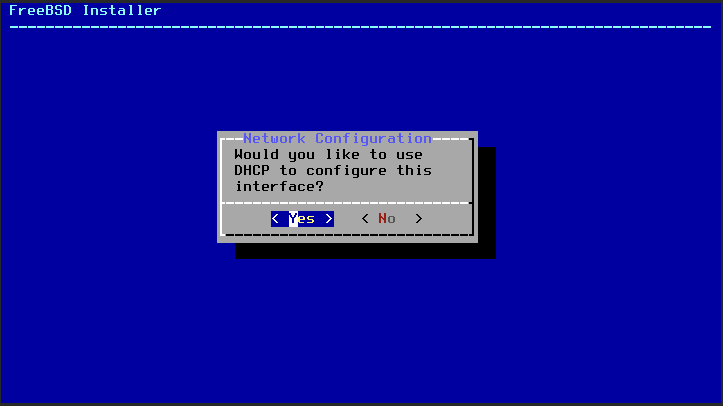
Next it will ask if you want to use DHCP, in most cases you do, but in case you want a static IP, select no.
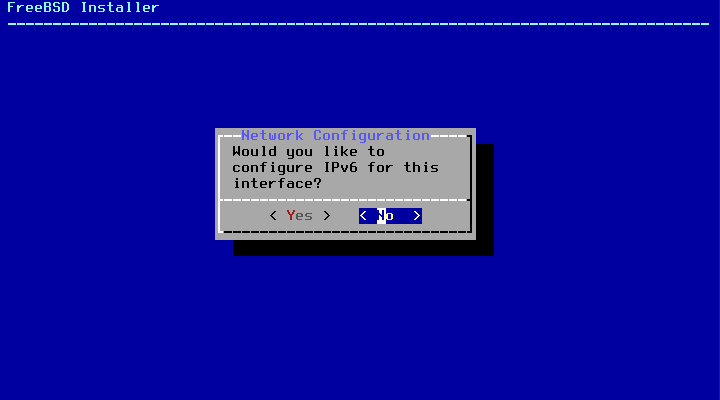
Next is a question for IPv6, but in this case I don't want this (since IPv6 is broken in my home network)
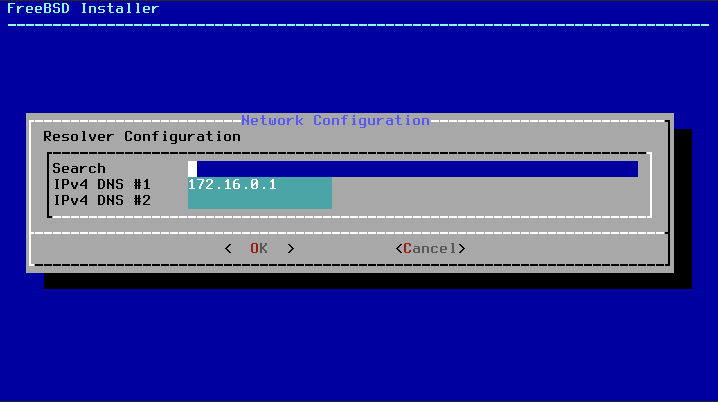
Next, you will need to configure some network options. You can probably use the defaults here.
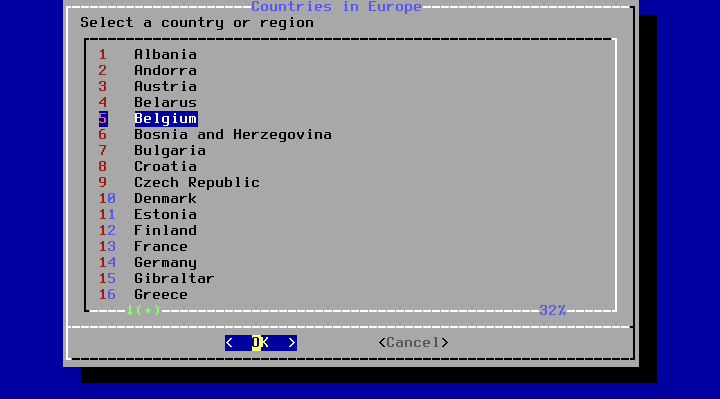
Next you will be asked to select the timezone, select whatever is apropriate to you. I'm in belgium, so I'll select "Europe", then "Belgium".
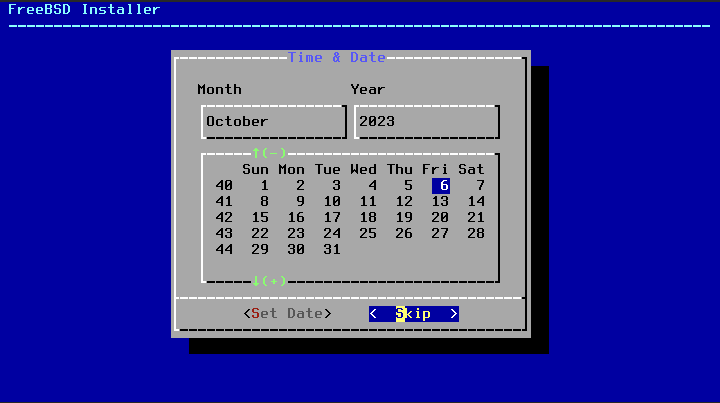
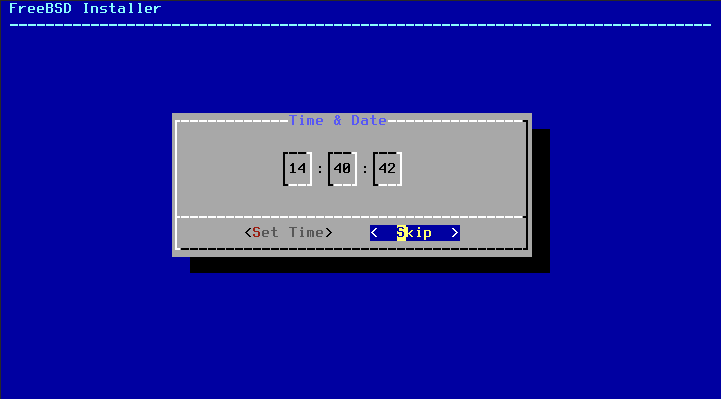
After this, you'll be asked to select the correct date and time.
Next we can choose what services we want on boottime, this depends a bit from system to system, and you can change this later at all times. If you are installing a desktop, you might want to unselect dumpdev.
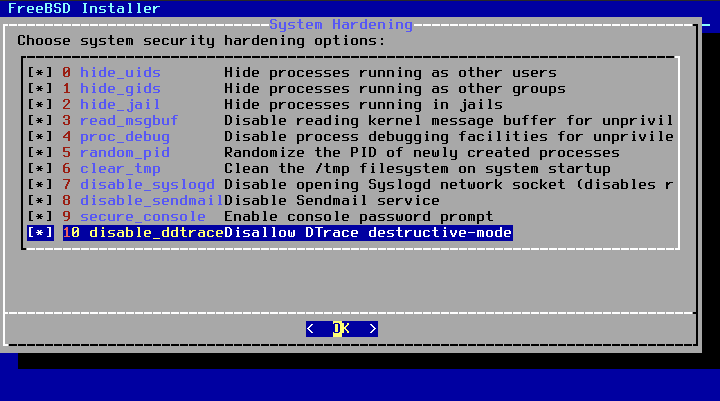
Next is the system hardening menu. For a desktop system you can select all options, for a server or dev machine, you might want some off, but it is all up to you.
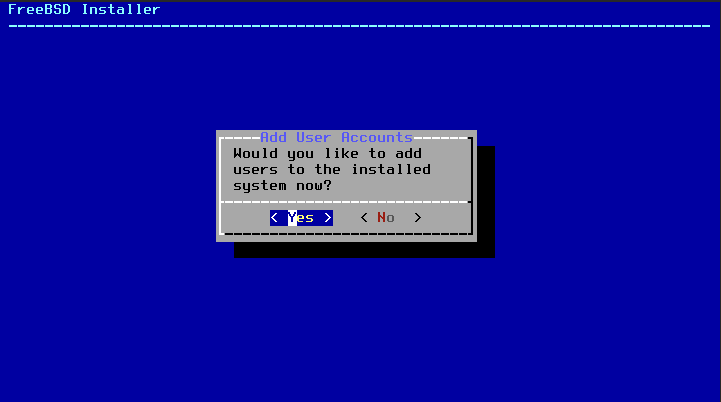
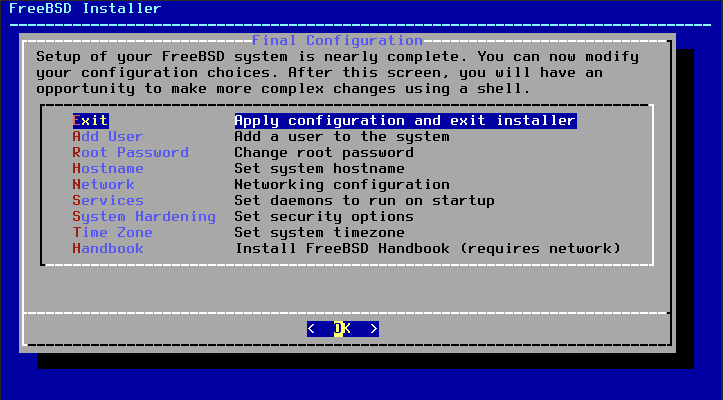
Now we'll finally arrive to the most essential menu: adding users, I do want to add extra users, but this is up to you
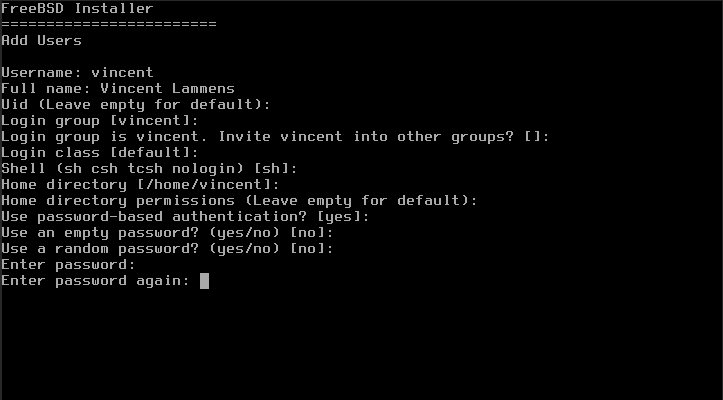
Enter the info you want for your user. You might want to add your user to "wheel", "operator" and "video" groups for a desktop system.
Now the installer is finished, and we can select "exit" and finaly "reboot". Do not forget to remove the USB stick or CD.
Conclusion
Installing FreeBSD is not difficult, in a next post I will go over how to administer a system running freeBSD, since it is quite a bit different from linux.